

New Player Starter Guide
Required programs, account registration, first launch tips, common fixes, and Discord support.
Welcome to Serein MMO. This starter guide helps new players prepare their PC, create an account, launch the game correctly, and solve common issues before asking for support.
Required Programs
Install the required programs below before launching the game. Missing runtimes can cause the launcher or client to fail, crash, or show missing DLL errors.
DirectX End-User Runtime
Required for legacy DirectX 9 game files and common errors such as missing d3dx9_43.dll.
Download DirectXVisual C++ Redistributable x64
Required by many Windows game clients and tools. Install this on 64-bit Windows.
Download VC++ x64Visual C++ Redistributable x86
Recommended even on 64-bit Windows because some game components may still require 32-bit runtime files.
Download VC++ x86.NET Desktop Runtime 6.0
Required if the launcher, options tool, or other Serein MMO tools do not open correctly.
Download .NET Desktop RuntimeAccount Registration and In-Game Account Creation
Serein MMO uses two account steps: first you register your website account, then you create your actual in-game account from your Profile page.
- Register your web account from the Serein MMO website.
- Log in using the same credentials you used during sign-up.
- Open your Profile page.
- Press In-Game Accounts.
- Press Create New In-Game Account.
- Use the new in-game account credentials when logging into the game client.
- Use a real email address in case verification or support is needed.
- Do not share your web account or in-game account information with anyone.
- Use a strong password that you do not use on other websites.
First Launch Checklist
- Extract the client fully before opening the launcher.
- Do not run the game directly from inside a compressed ZIP or RAR file.
- Run the launcher and let the patcher finish completely.
- If the launcher does not open, right-click it and choose Run as administrator.
- If your antivirus blocks or removes files, add the Serein MMO folder to your antivirus exclusion list.
Launching Without the Launcher Shortcut
After your client is fully patched, you can create a shortcut that opens SereinMMO.exe directly without depending on the launcher. This is useful if you need to open the client manually.
- Open your Serein MMO client folder.
- Find SereinMMO.exe.
- Right-click SereinMMO.exe.
- Click Create shortcut.
- A new file should appear named something like SereinMMO.exe - Shortcut.
- Right-click the new shortcut and click Properties.
- In the Shortcut tab, find the Target field.
- Go to the end of the Target field, add one space, then write multiclientpls.
- Click Apply, then click OK.
- Use this shortcut when you want to open the client directly.
"C:\Users\USER\Desktop\Serein MMO\Serein Client\SereinMMO.exe" multiclientpls
Common Problems and Fixes
Game does not open
Install DirectX, Visual C++ x64, Visual C++ x86, and .NET Desktop Runtime. Restart your PC, then run the launcher as administrator.
Missing d3dx9_43.dll or DirectX error
Install the DirectX End-User Runtime from the required programs section above.
Missing VCRUNTIME140.dll, MSVCP140.dll, or similar error
Install both Visual C++ Redistributable x64 and Visual C++ Redistributable x86.
Launcher or Options tool does not open
Install .NET Desktop Runtime 6.0, restart your PC, and try again.
Antivirus removed or blocked files
Restore the removed files if possible, then add the full Serein MMO folder to your antivirus exclusions. After that, run the launcher again.
Patcher is stuck or keeps failing
Run the launcher as administrator, make sure your internet connection is stable, and avoid installing the game inside protected Windows folders such as Program Files.
Client crashes after login
Update your graphics driver, install all required programs, restart your PC, and send your error log to Discord support if the issue continues.
Discord Support
If you still need help, join the official Serein MMO Discord and open a support request.
Join the Serein MMO DiscordWhen asking for help, include a screenshot of the error, what you were doing before the issue happened, your Windows version, your PC specs if the game crashes, and your error log if available.
What To Do Next
Frequently Asked Questions
Common questions about downloading, installing, accounts, launching, leveling, and getting support in Serein MMO.
Where do I download the client?
Download the full client from the Downloads page. New players should download and fully extract the client before opening the launcher.
What operating system do I need?
Windows 7 SP1 or newer is supported. Windows 10 or Windows 11 64-bit is recommended.
How much disk space do I need?
The client size is around 17.3 GB, but at least 30 GB of free space is recommended for extraction, patches, screenshots, logs, and future updates.
What is the difference between my website account and in-game account?
Your website account is used to log in to the Serein MMO website. After logging in, open your Profile, select In-Game Accounts, and create the account you will use inside the game client.
Which programs should I install before playing?
Install the DirectX End-User Runtime, Visual C++ Redistributable x64, Visual C++ Redistributable x86, and .NET Desktop Runtime 6.0. The New Player Starter Guide contains the direct download links.
What should I do if the launcher does not open?
- Run the launcher as administrator.
- Install the required programs listed in the New Player Starter Guide.
- Make sure your antivirus did not remove or block any Serein MMO files.
- Restart your PC after installing the required runtimes.
What should I do if my antivirus removes game files?
Restore the removed files if possible, add the full Serein MMO folder to your antivirus exclusion list, then run the launcher again so missing files can be patched.
What should I do if the patcher is stuck or keeps failing?
Run the launcher as administrator, make sure your internet connection is stable, and avoid installing the game inside protected Windows folders such as Program Files.
Can I launch Serein MMO directly without the launcher?
Yes. After the client is fully patched, you can create a shortcut to SereinMMO.exe and add multiclientpls after the executable path. Use the launcher again whenever the game needs to patch. The full shortcut instructions are available in the New Player Starter Guide.
What is the current maximum level?
The current maximum character level is 121. Follow the Leveling Guide for the recommended leveling route, gear milestones, Monster Album progression, and experience boosts.
Where can I see the rewards I receive while leveling?
Open the Level Up Rewards Guide to see the rewards granted at specific levels and what each reward does.
Where do I ask for support?
Join the official Serein MMO Discord and open a support request. Include a screenshot of the error, what you were doing before the problem happened, your Windows version, your PC specifications if the game crashes, and your error log if available.
Leveling Guide
Leveling route, Monster Album progression, gear milestones, party gap rules, and experience boosts.
Welcome to the Serein MMO Leveling Guide. This guide explains the recommended leveling path from Level 1 to the current maximum level, including where to level, when to upgrade your gear, how to use the Monster Album system, and which experience boosts can help you progress faster.
Important Leveling Information
- Having a low-level leech character follow you will no longer give bonus experience.
- Leeching is not required for efficient leveling.
- Players may still level up two characters together by using Party Mode [Level].
- Party level gap restrictions begin when there is a 19 level difference or higher between party members.
Monster Album System
The Monster Album system is an important part of leveling and long-term character progression. While leveling, monsters may drop Monster Album Pieces. These pieces can be used to unlock monsters in the Monster Album system.
Unlocking Monster Album entries can grant:
- Permanent stat bonuses
- Useful item rewards
- Better long-term progression for your character
Gear Progression
Using proper gear while leveling will make your progression much smoother. It is recommended to update your equipment at the following level milestones:
Updated gear increases your attack and defense, which helps you kill monsters faster and survive more easily. If your desired weapon or armor does not drop directly, monsters can also drop Weapon Pieces and Armor Pieces. These pieces can be used to craft your desired equipment.
Recommended Leveling Path
Follow the route cards below in order. Each route shows the recommended area, level range, and monster order. Try to unlock Monster Album entries as you progress instead of leaving them all for later.
Flaris
Start your journey here and collect early Monster Album Pieces before moving to Saint Morning.
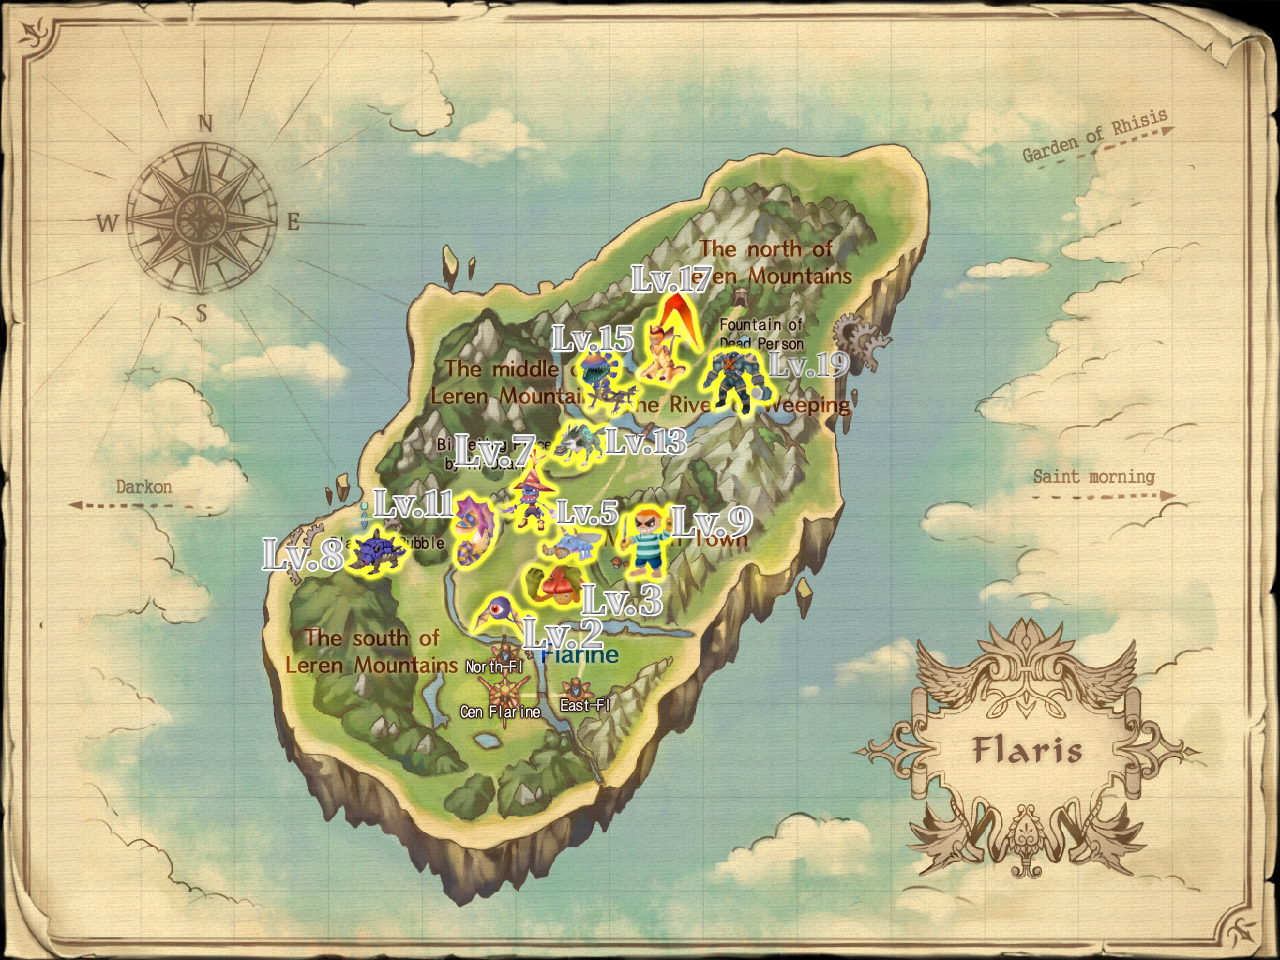
 02 Mushpang
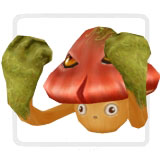 03 Burudeng
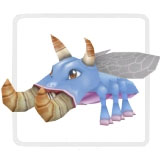 04 Pukepuke
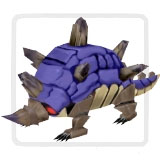
 05 Peakyturtle
 06 Demian
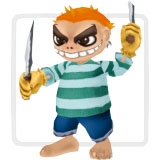 07 Dordoma
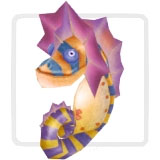 08 Lawolf
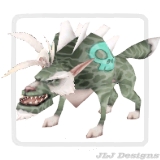 09 Fefern
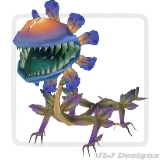 10 Nyangnyang
 11 Bang
Saint Morning
Continue through Saint Morning and keep using Monster Album Pieces while they drop.
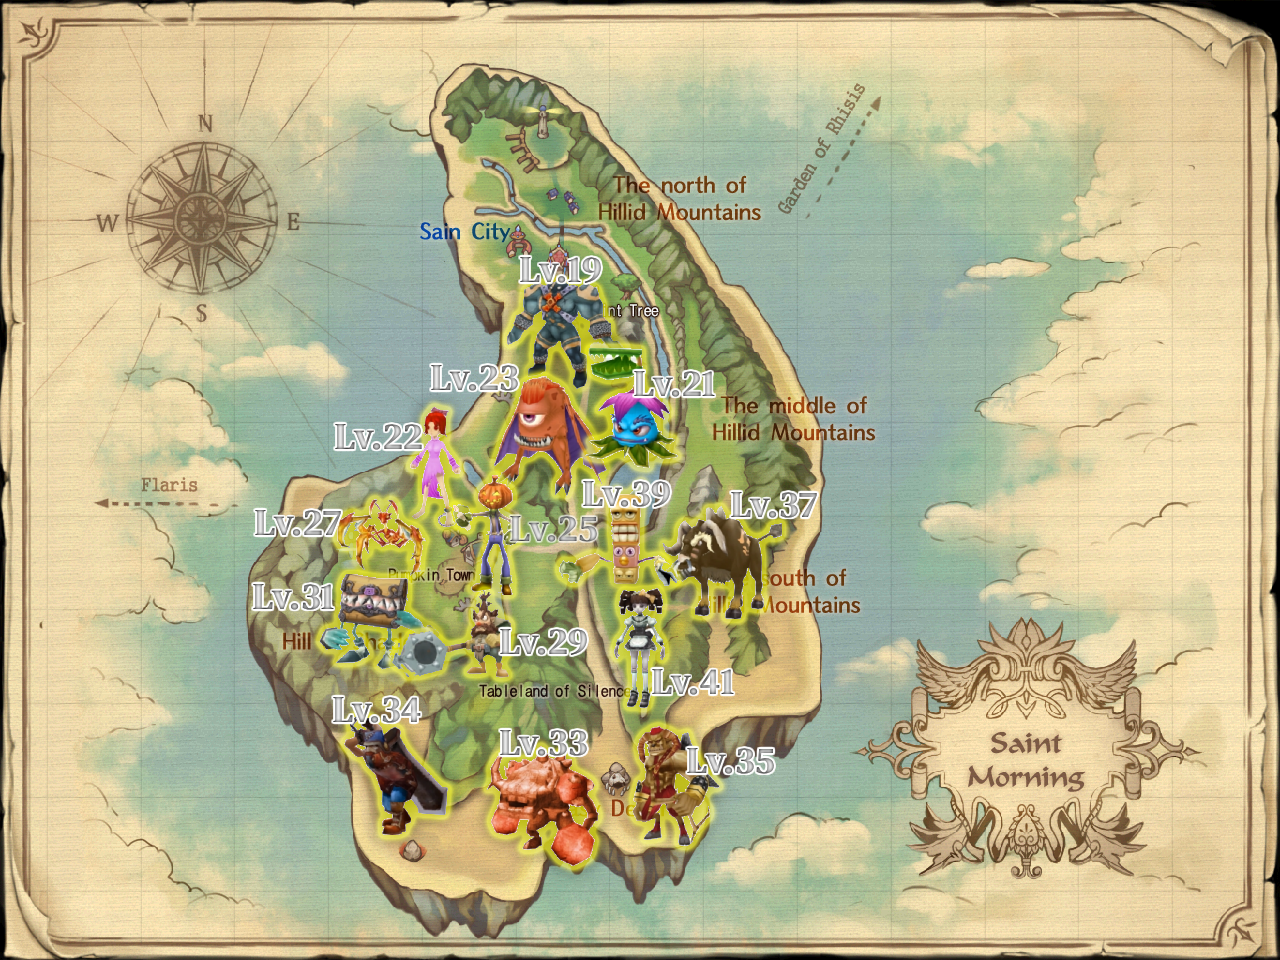
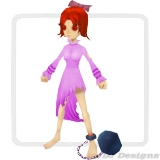
 02 Mia
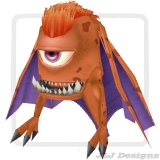
 03 Flybat
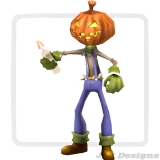
 04 Mr. Pumpkin
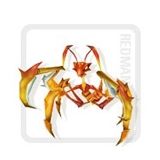
 05 Red Mantis B
 06 Jack the Hammer
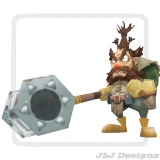 07 Giggle Box
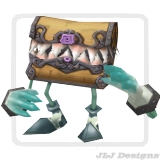 08 Rock Muscle
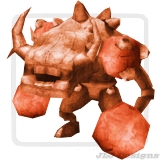 09 Hobo
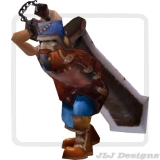 10 Bucrow
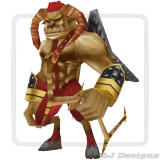 11 Dumb Bull
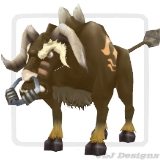 12 Totemia
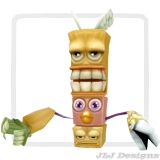 13 Cardpuppet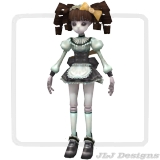
Garden of Rhisis
This area can be used as an alternative or additional route before fully moving into Darkon.
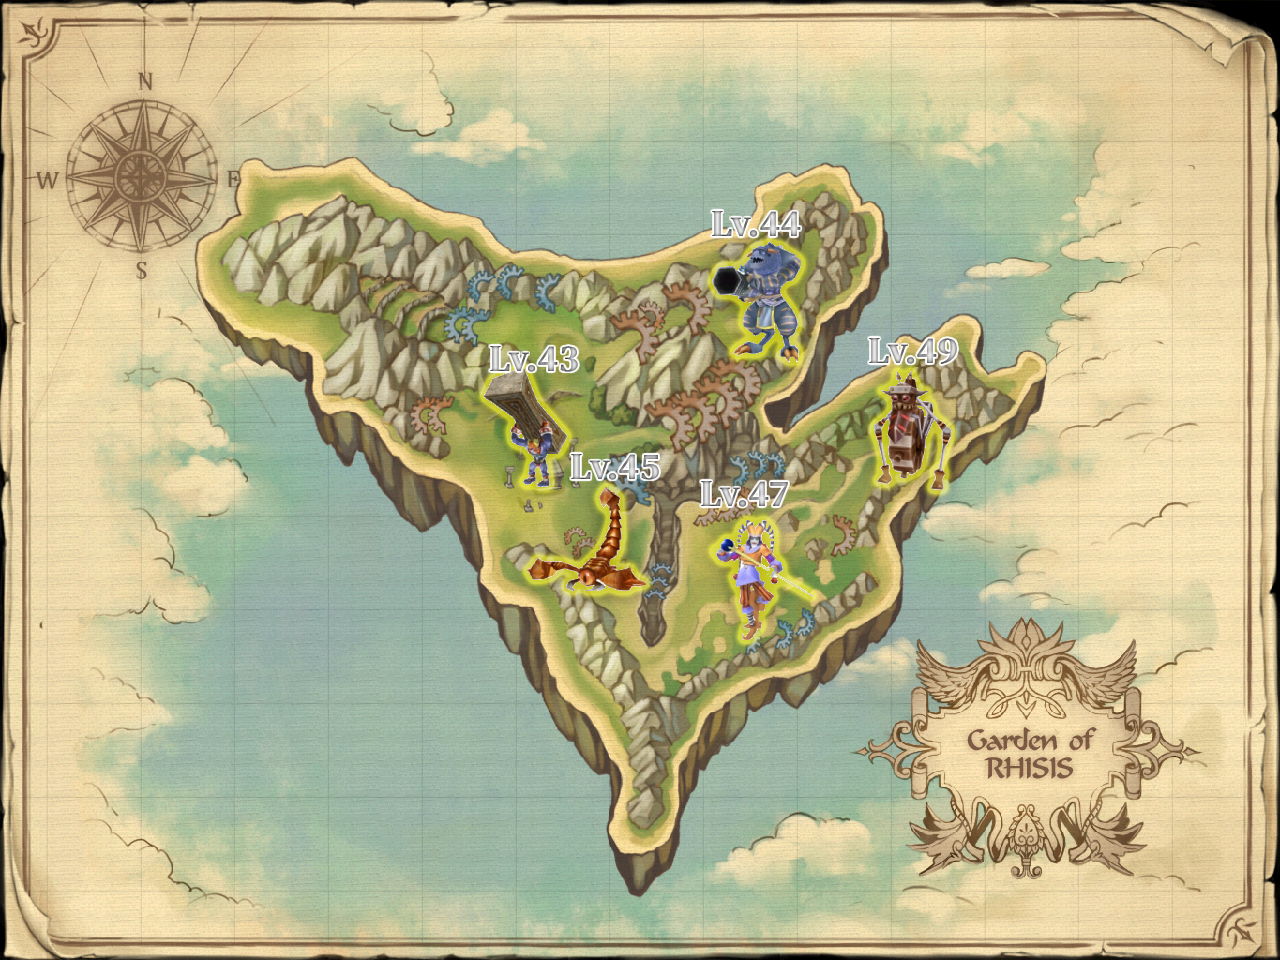
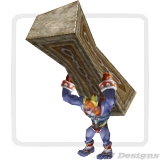 02 Basque
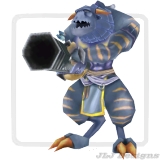 03 Scorpicon
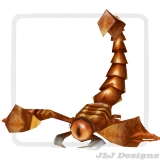 04 Prankster
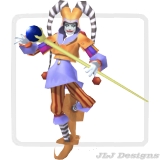 05 Wheelem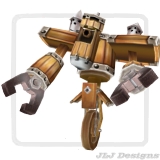
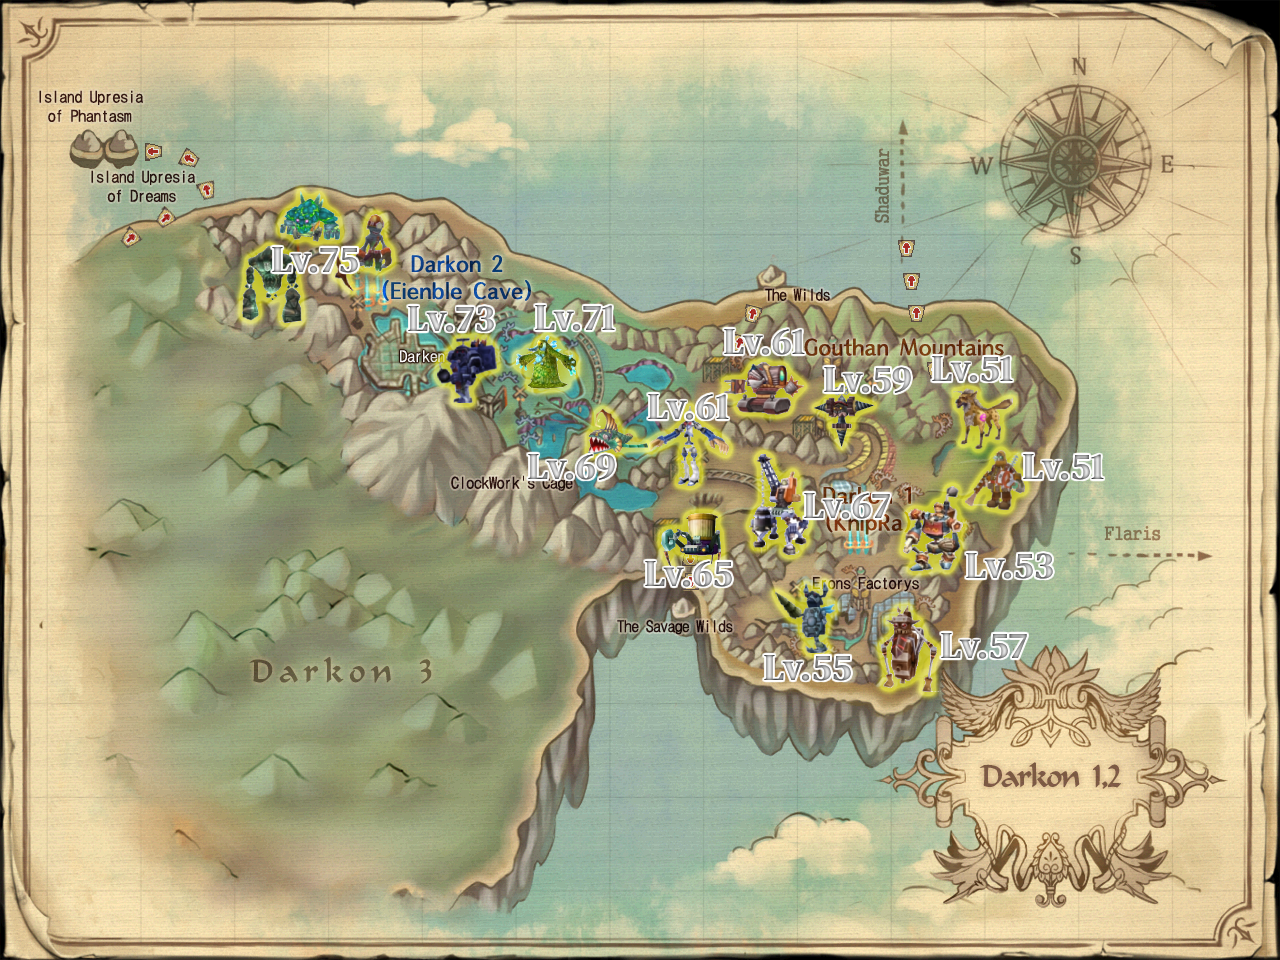
Darkon 1 and Darkon 2
Gear becomes much more important here. Keep your weapon and armor updated to avoid slow kills.
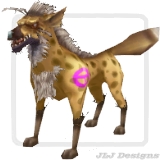 02 Trangfoma
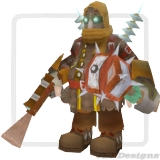 03 Steam Walker
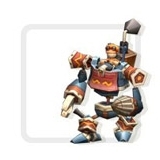 04 Steel Knight
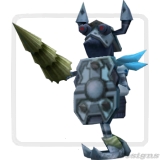 05 Nutty Wheel
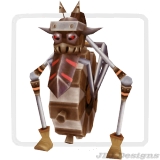 06 Driller
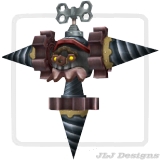 07 Volt
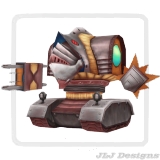 08 Elderguard
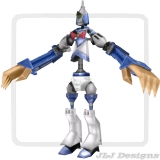 09 Garbagepider
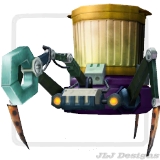 10 Crane Machinery
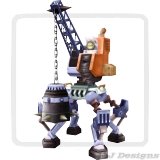 11 Syliaca
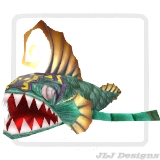 12 Greemong
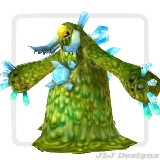 13 Carrierbomb
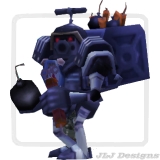 14 Zombiger
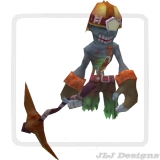 15 Nuctuvechile
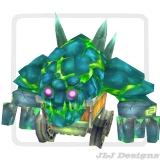 16 Risem
Azria
Azria is a strong alternative leveling area once you have an Azria Ticket.
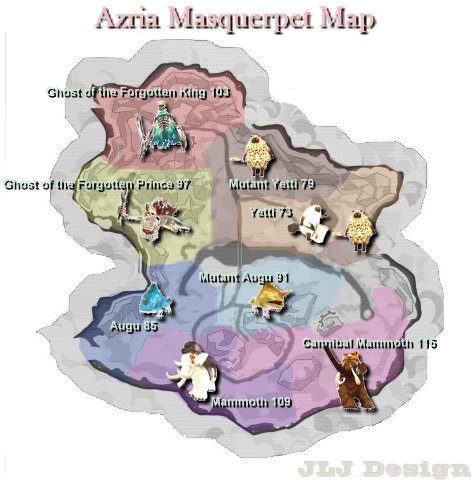
Starting from around Level 73, players can also level in Azria. Azria can be accessed using an Azria Ticket, which can be obtained as a level-up reward or purchased from [Special] Is.
Azria can be used until approximately Level 118 and does not require following a strict monster-name route.
Darkon 3
Darkon 3 is the main late-game leveling area and can take players all the way to Level 121.
 02 Mushpoie
 03 Iren
 04 Watangka
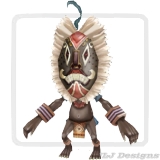 05 Antiquery
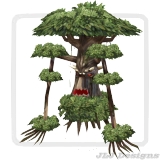 06 Nautrepy
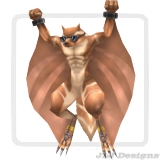 07 Boo
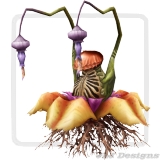 08 Luia
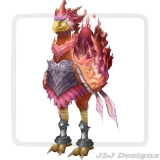 09 Gongury
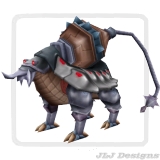 10 Shuhamma
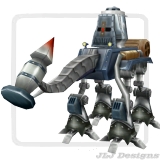 11 Kern
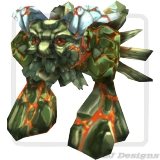 12 Grrr
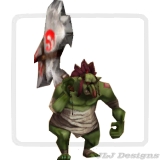 13 Dump
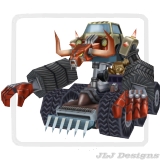 14 Brigadier Chimeradon
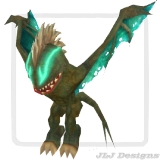 15 Sergeant Bearnerky
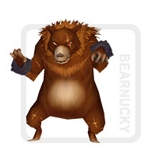 16 2nd Chef Muffrin
 17 Bishop Popcrank
 18 Small Glaphan
Experience Boosts
Players can speed up leveling by using experience boost items.
- Premium Scroll: Grants +70% Experience. This item is obtainable only from Serein's Cash Shop.
- Scroll of Amplification P: Grants +75% Experience. This item can be obtained from [Special] Is or as a level-up reward.
- Scroll of Amplification Q: Grants +175% Experience. This item can be purchased from Serein's Cash Shop.
Leveling Tips
- Keep your gear updated at the recommended level milestones.
- Use the Monster Album system while leveling instead of ignoring it until later.
- Enable [Auto Use] in the Monster Album system to save time.
- Use experience scrolls when you plan to level for a longer session.
- Use Amplification Q and Amplification P together when possible.
- If your damage feels too low, check your weapon first.
- If monsters are dealing too much damage, upgrade your armor or move to a slightly lower-level monster.
- Use Azria from Level 73 onward if you have an Azria Ticket.
Summary
- Follow the recommended monster path.
- Unlock Monster Album entries as you progress.
- Obtain the gear dropped from monsters at Level 15, 30, 45, 60, 75, 90, and 105.
- Use the Crafting System if your desired gear does not drop.
- Use experience scrolls to speed up progression.
- Use Amplification Q and Amplification P together when possible.
- Move to Azria or Darkon 3 for higher-level leveling.
Level Up Rewards
Rewards unlocked while leveling, including consumables, tickets, vendors, and useful boosts.
As you level up in Serein MMO, you will receive useful rewards that help with leveling, survival, travel, vending, and account progression. Click any reward item below to view its details.
Reward Tips
- Use Scroll of Amplification (P) when you are ready to level for a while.
- Save Azria Tickets until you are around the recommended level range for Azria.
- Keep healing items such as Healing Potions, and Remantis Laccotte [PvE] for harder monsters or dungeons.
- Use Vendor [1 Day] when you want to sell items while offline.
- Save Bead Slot Keys until you have a buff pet worth upgrading.
Monster Album Guide
Monster Album unlocks, permanent stat milestones, item rewards, boss card slots, fragments, and boss cards.
The Monster Album is a long-term progression system where players collect Monster Card Pieces from monsters, unlock album entries, and earn permanent character bonuses.
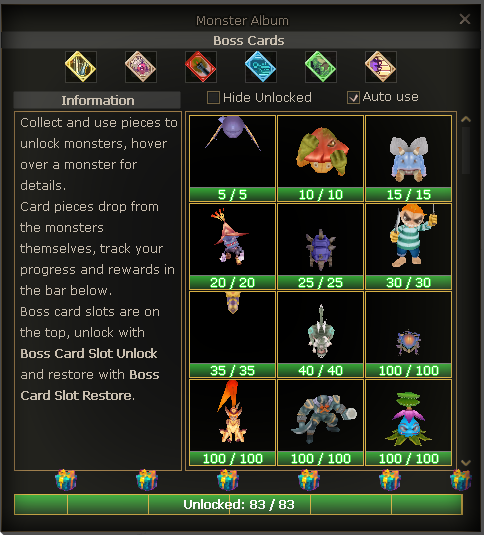
How Monster Album Works
Collect Pieces
Monsters can drop Monster Card Pieces. Each monster has its own required amount and drop chance.
Unlock Monsters
Using enough pieces unlocks that monster in your album and increases your total monsters unlocked count by 1.
Earn Permanent Stats
At specific total unlock milestones, your character receives permanent and cumulative stat bonuses.
Claim Item Rewards
Unlock milestones also grant useful item rewards. All Monster Album milestone item rewards are bound.
Total Monsters Unlocked Rewards
The bonuses below are permanent and cumulative. Click any reward item to view its details.
Boss Card Slots
The Monster Album contains 6 Boss Card Slots. Each slot must be unlocked using a Boss Card Slot Unlock before a Boss Card can be equipped.
Boss Card Fragments and Crafting
Boss Card Fragments are unique drops from dungeon final bosses. These fragments are used with crafting materials to create Boss Cards through the Crafting System.
Crafting Materials
Crafting Materials
Crafting Materials
Crafting Materials
Crafting Materials
Crafting Materials
Special Boss Cards
Obtainable from unlocking all monsters in the Monster Album system.
Obtainable from [Red Chips] Waforu NPC. Cost: 3,000 Red Chips.
Monster Album Tips
- Unlock Monster Album entries while leveling instead of leaving everything for later.
- Enable Auto Use inside the Monster Album system if you want supported pieces to be used automatically.
- Permanent bonuses from Monster Album milestones are cumulative and remain on your character.
- Save Boss Card Fragments until you are ready to craft the Boss Card you want.
- Use Boss Card Slot Restore when you want to safely change an equipped Boss Card.
Item Rarity Guide
Rarity tiers, bonus lines, rarity dust, rerolling, fusion, evolution, and dismantling.
Improve your equipment with rarity tiers, bonus lines, rerolls, fusion, and dust.
Item Rarity gives eligible equipment additional bonus stats. In Serein MMO, eligible items obtained from drops, crafting, or boxes will always come with a rarity tier.
Rarity At A Glance
Eligible Items
Only Weapons, Shields, and Armor can have rarity.
Always Has Rarity
Eligible items from drops, crafting, and boxes will appear with a rarity tier.
Bonus Lines
Items can naturally appear with 1 or 2 rarity bonus stat lines.
Rarity Dust
Dismantle unwanted rarity items to earn dust. Higher-level and Ultimate items grant more dust.
Rarity Progression Flow
Rarity Tiers
Higher rarity tiers are harder to obtain, but they can provide stronger bonus ranges.
Common
The most common rarity tier and the usual starting point for rarity progression.
- Natural chance: 95%
- Base fusion success: 50%
- Base fusion cost: 10,000,000 Penya
Uncommon
A stronger rarity tier with better possible bonus values.
- Natural chance: 4.5%
- Base fusion success: 40%
- Base fusion cost: 20,000,000 Penya
Rare
The highest rarity tier currently available.
- Natural chance: 0.5%
- Base fusion success: 30%
- Base fusion cost: 25,000,000 Penya
Epic / Legendary
These tiers are not currently available and may be introduced in a future update.
Rarity Bonus Lines
1 Bonus Line
A 1-line rarity item can still be valuable. If the item is worth keeping, use a Scroll of Rarity Evolution in the Upgrade Rarity window to add a second bonus line.
2 Bonus Lines
Two lines is the maximum. These items can use the Rarity Bonus Stat Reroll window to reroll one selected line at a time.
Core Rarity Items
These are the main items used by the rarity system. They can be obtained from dungeons, world bosses, or purchased from [Seraphina] Curator of Rarities using Rarity Dust. Click any item to view its details.
Rarity Bonus Stat Reroll
Use this window when you want to reroll one selected rarity stat line on an item with 2 bonus stat lines.
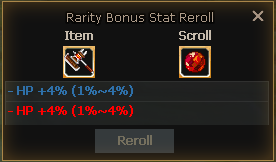
- Place the rarity item into the Item slot.
- Place a Stone of Rarity Stat Reroll into the Stone slot.
- Select either Line 1 or Line 2.
- Review the new stat result and its possible minimum / maximum range.
- Confirm only if you want to replace the selected line.
Upgrade Rarity / Fusion
The Upgrade Rarity window is used to fuse matching rarity items into a higher rarity tier. It is also where a 1-line item can be evolved into 2 bonus lines using Scroll of Rarity Evolution.
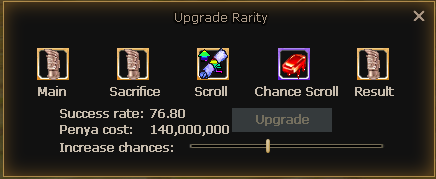
Main
The item you want to upgrade. The main item is protected from breaking.
Sacrifice
Must be the exact same item and the same rarity as the main item.
Scroll
Scroll of Rarity Fusion is required for rarity fusion.
Chance Scroll
Stone of Rarity Chance can reduce the Penya cost needed for higher success rates.
Result
Shows the item result if the fusion succeeds.
Fusion Safety and Success Rate
Main Item
The main item is protected and does not break if fusion fails.
Sacrifice Item
If fusion fails, only the sacrifice item can break.
Scrolls / Stones
Failed fusion consumes the required scroll and any chance stone used.
100% Success
Drag the success bar to maximum for 100% success. This increases Penya cost.
Rarity Item Dismantle
Use this window to dismantle unwanted rarity items into Rarity Dust. You can add items manually by right-clicking them, or use Deposit All to add eligible items quickly.
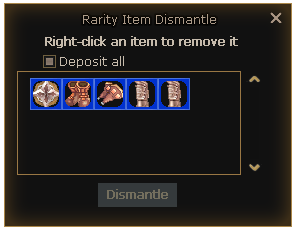
- Higher-level rarity items grant more Rarity Dust.
- Ultimate items grant more dust than normal items.
- Dismantled items are removed permanently.
Important Dismantle Warning
Item Rarity Tips
- Do not dismantle rare or useful gear until you are sure you no longer need it.
- Lock important items before using the dismantle window.
- Save matching duplicate items if you plan to fuse rarity tiers later.
- Use Scroll of Rarity Evolution only on items worth upgrading to two bonus lines.
- Use rerolls carefully because each item has a maximum of 35 rarity stat rerolls before needing a reset.
- Check the success rate and Penya cost carefully before confirming rarity fusion.
- Use the maximum success bar if you want guaranteed fusion success.
Recycle System Guide
How to dismantle unwanted weapons, armor, and jewelry into Scraps and other useful materials.
The Recycle System allows players to dismantle unwanted items and convert them into Scraps and various other useful material goods. It is a simple way to turn gear you do not need into materials that can help with future progression.
To lock an item, hold Shift + Right Click on the item inside your inventory.
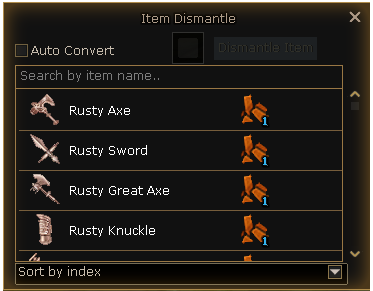
What Can Be Recycled?
Only specific item types can be placed into the Recycle System.
How To Add Items
Items can be added to the Recycle System manually one by one, or automatically using the Auto Add button.
Manual Single Item
- Open Menu → Systems → Recycle.
- Drag the item into the recycle window.
- Check that the item is correct.
- Press the Dismantle Item button.
Auto Add Eligible Items
- Open the Recycle System window.
- Press the Auto Add button.
- All eligible items will be added into the recycle window.
- Review the added items carefully before dismantling.
Important Item Safety Warning
Always lock valuable items before using the Recycle System. Items recycled by mistake are not refundable.
Recycle System vs Rarity Item Dismantle
Recycle System
Used to dismantle unwanted Weapons, Armor, and Jewelry into Scraps and other material goods.
Rarity Item Dismantle
Used at [Seraphina] Curator of Rarities to dismantle unwanted rarity items mainly into Rarity Dust.
Recycle Tips
- Lock any gear, jewelry, or valuable items you want to keep before recycling.
- Hold Shift + Right Click on an inventory item to lock it.
- Use manual single-item recycling when you only want to dismantle one specific item.
- Use Auto Add only after locking the items you want to keep.
- Always review the recycle window before confirming the dismantle.
- Keep Scraps and other materials because they may be useful for future progression systems.
Awakening System Guide
Learn how to awaken equipment, use Auto Awakening, save presets, and check awakening values.
The Awakening System is a way to enhance your equipment with additional awakening stats. Awakenings can increase your character's damage, survivability, utility, or other important bonuses depending on the stat rolled.
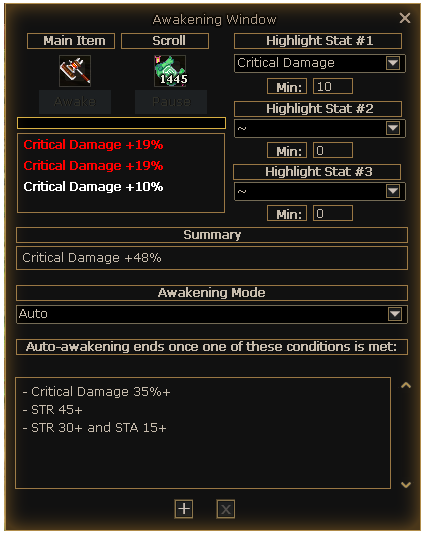
Wiki Awakenings
Players can check awakening chances, possible stats, and possible values from the Wiki Awakenings window. This is useful before using manual awakening or Automatic Awakening.
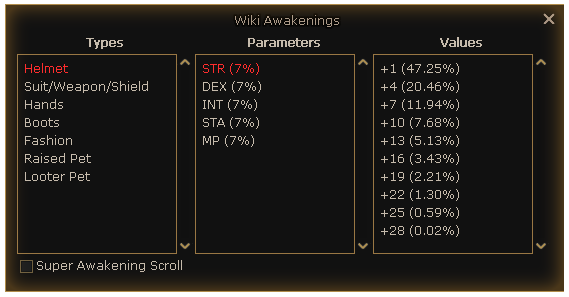
What Can Be Awakened?
Weapons, Shields, Armor, Raised Pets
These items can be awakened using Scroll of Awakening or Super Scroll of Awakening.
Weapons, armor, and Raised Pets can have up to 3 awakening lines.
Fashion, Masks, Wings, Cloaks
These items can be awakened using Blessing of the Goddess.
Fashion-type items can have up to 1 awakening line.
Looter Pets and Catched Giants
These can be awakened using Scroll of Pet Blessing.
Awakening Scrolls and Sources
Different item types require different awakening scrolls. Click any item below to view its details.
NPC Sources
![[Special] Is NPC](serein_assets/images/guides/awakening/special-is.png)
![[Mayor of Flarine] NPC](serein_assets/images/guides/awakening/mayor-flarine.png)
![[Pet Tamer] Alfred NPC](serein_assets/images/guides/awakening/pet-tamer-alfred.png)
How Manual Awakening Works
- Open the Awakening System from Menu → Systems → Awakening, or type /awake.
- Drag the item you want to awaken into the Main Item box.
- The system will display the required scroll inside the Scroll box.
- Make sure you have the required scroll in your inventory.
- Press the awakening button to roll new awakening stats.
Highlighted Stats and Minimum Values
Players can highlight up to 3 desired stats inside the Awakening window. Each highlighted stat can also have a minimum value.
If the item rolls one of the highlighted stats with the selected minimum value or higher, the result will be shown as highlighted or bold inside the Awakening System window.
Awakening Summary Box
The summary box combines repeated awakening stats together so players can quickly understand the final result.
If an item rolls:
+10 STR
+7 STR
+10% Critical Damage
The summary can show:
Sum: +17 STR, +10% Critical Damage
Awakening Modes
Manual Mode
The player awakens the item manually one attempt at a time.
Auto Mode
The system continues awakening automatically until the selected stat and minimum value are reached.
Automatic Awakening
Automatic Awakening allows players to let the system continue awakening an item until the selected stat and minimum value are reached. This is useful when searching for specific awakening stats instead of awakening manually one by one.
How to Use Auto Awakening
- Open the Awakening System from Menu → Systems → Awakening, or type /awake.
- Drag the item you want to awaken into the Main Item box.
- The system will show the required awakening scroll in the Scroll box.
- Make sure you have the required awakening scroll and Scroll of Automatic Awakening.
- Switch to Auto mode.
- Press the [+] button to open the Add Auto-Awake Option window.
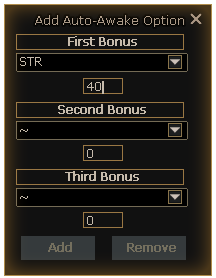
Add Auto-Awake Option Window
The Auto-Awake option window lets players choose which awakening stats they want the system to search for. Players can configure up to three awakening lines depending on the item type.
First Bonus
Select the first desired stat and set the minimum value required.
Second Bonus
Select the second desired stat and set the minimum value required.
Third Bonus
Select the third desired stat and set the minimum value required.
Saved Auto-Awake Presets
Auto Awakening presets are saved separately by item category. This means players can set different Auto-Awake goals for different equipment types without overwriting their other settings.
Helmet
Helmet Auto-Awake settings are saved separately.
Suit & Weapon
Suit and weapon settings share their own preset group.
Gloves
Glove Auto-Awake settings are saved separately.
Boots
Boot Auto-Awake settings are saved separately.
Fashion
Fashion, cloaks, masks, wings, and similar items use their own preset group.
Raised Pets
Raised Pet Auto-Awake settings are saved separately.
Looter Pets
Looter Pet Auto-Awake settings are saved separately.
Awakening Line Limits
- Weapons, Armor, and Raised Pets: Up to 3 awakening lines.
- Fashion, Cloaks, Masks, and Wings: Up to 1 awakening line.
Automatic Awakening Tips
- Use Auto Awakening when searching for specific stats with a minimum value.
- Check Wiki Awakenings first so you know what values are possible.
- Do not set impossible values higher than the maximum obtainable value.
- Prepare enough awakening scrolls before starting Auto Awakening.
- Remember that replaced awakenings are gone forever and cannot be restored.
Awakening Tips
- Use Wiki Awakenings before spending many scrolls.
- Use highlighted stats to make good awakening rolls easier to notice.
- Use Super Scroll of Awakening when you want better chances and at least 2 awakening lines.
- Always double-check the item before awakening again because old awakenings cannot be recovered.
- Use the correct scroll type for the item you are awakening.
Summary
- Open Awakening from Menu → Systems → Awakening or type /awake.
- Check Menu → Help → Wiki Awakenings for possible stats, values, and chances.
- Use the correct awakening scroll for the item type.
- Manual Awakening rolls one attempt at a time.
- Automatic Awakening requires Scroll of Automatic Awakening.
- Auto Awakening keeps consuming scrolls until your selected stat and minimum value are reached.
- Auto-Awake presets are saved separately by item category and remain saved after re-clienting.
- Old awakenings are removed permanently when replaced.
Gear Score Guide
How Gear Score works, where to see it, which items count, and how to calculate your estimated total.
Gear Score is a progression value based on the equipment your character is wearing. It helps players understand the overall strength of their gear and is also used as an entry requirement for dungeon access.
How Gear Score Appears in Tooltips
Gear Score items show their base value and bonus value separately. The base value comes from the item itself, while the bonus value comes from upgrades and piercing.
Why Gear Score Matters
Dungeon Entry
Gear Score is required to unlock access to certain dungeon entries. Higher-level or harder dungeons may require a higher total Gear Score.
Gear Progression
Gear Score gives players a quick way to judge if their current equipment is strong enough for the next stage of progression.
Teleporter Check
Players can check the minimum Gear Score required to enter a dungeon through the Teleporter system [V].
Equipment That Gives Gear Score
Gear Score is calculated from specific equipment slots only.
Gear Score Formula
Every Gear Score item has a base Gear Score value set on the item. The final value is calculated by adding the base Gear Score, upgrade bonus, and piercing bonus together.
Weapon Upgrades
+1.0 Gear Score per upgrade level.
Example: Weapon +20 = +20 Gear Score.Armor / Shield Upgrades
+0.2 Gear Score per upgrade level.
Example: Shield +10 = +2 Gear Score.Jewelry Upgrades
+0.1 Gear Score per upgrade level.
Example: Ring +20 = +2 Gear Score.Piercing
Suit: +1.0 per pierce slot, up to 4 slots. Weapons and Shields: +0.5 per pierce slot.
Only opened pierce slots are counted. Off-hand weapons count piercing only.Interactive Gear Score Calculator
Use this calculator to estimate your total Gear Score. Enter the base Gear Score shown in your item tooltip, then select the upgrade level and pierce slots where applicable.
Gear Score Calculator
Manual calculator for equipped gear. Values update automatically.
| Slot | Base Gear Score | Upgrade Level | Pierce Slots | Result |
|---|---|---|---|---|
| Main WeaponMax +20 | 0.0 | |||
| Off-hand WeaponPiercing only | 0.0 | |||
| ShieldMax +10 | 0.0 | |||
| HelmetMax +10 | — | 0.0 | ||
| SuitMax +10 / Pierce +4 | 0.0 | |||
| GauntletMax +10 | — | 0.0 | ||
| BootsMax +10 | — | 0.0 | ||
| NecklaceMax +20 | — | 0.0 | ||
| Earring 1Max +20 | — | 0.0 | ||
| Earring 2Max +20 | — | 0.0 | ||
| Ring 1Max +20 | — | 0.0 | ||
| Ring 2Max +20 | — | 0.0 |
How To Improve Gear Score
- Equip items with higher base Gear Score.
- Upgrade your main weapon because weapon upgrades give the highest upgrade bonus.
- Upgrade armor and shields for steady Gear Score gains.
- Upgrade jewelry after your main weapon and armor are stable.
- Open pierce slots on your suit, weapons, shields, and off-hand weapon when available. Suit piercing can add up to +4 Gear Score.
- Use the Teleporter system [V] to check the minimum Gear Score needed for dungeon entry.
Crafting System Guide
Learn how to craft equipment, consumables, materials, and progression items.
The Crafting System lets players craft useful items such as equipment, consumables, materials, stated fashion, upgrade items, and boss cards.
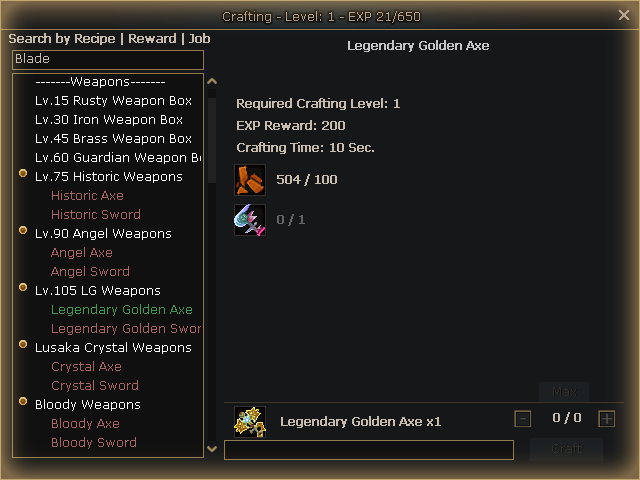
Crafting Level
Crafting has its own Crafting Level and Crafting EXP. Crafting items gives EXP, and some recipes require a higher Crafting Level before they can be crafted.
Search System
The search bar can be used to find recipes faster.
Recipe
Search by recipe name.
Reward
Search by the item you want to craft.
Job
Search your class/job name to show eligible weapons and armor for that job.
How to Craft
- Press F to open Crafting.
- Select a category or search for a recipe.
- Click the item you want to craft.
- Check the required Crafting Level, materials, EXP reward, and crafting time.
- Choose the amount you want to craft.
- Press Craft.
Required Materials
Each recipe shows the materials required and how many you currently own.
504 / 500
You own 504, and the recipe requires 500.
Crafting Amount
- Use - and + to change the amount.
- Use Max to set the highest amount you can craft with your current materials.
- Press Craft after choosing the amount.
Recipe Types
Free Recipes
Available normally in the Crafting list.
Level Recipes
Appear after reaching the required Crafting Level.
Recipe Unlocks
Appear after unlocking the related recipe item.
What Can Be Crafted?
Crafting includes many useful categories such as Consumables, Weapons, Armor, Jewelry, Stated Fashion, Upgrade Materials, Ingots, Collectors, and Boss Cards.
Crafting Tips
- Use Job search to find class gear faster.
- Use Reward search when you know the exact item you want.
- Check the required Crafting Level before farming materials.
- Use Max when crafting multiple items.
- Save rare materials for important crafts.
Pet Leveling & Catched Giants Guide
Learn how Raised Pets level up, how to catch Giants, and how Catched Giants grow stronger.
Pets are an important part of progression. Raised Pets level up from monster kills, while Catched Giants are special pets obtained by taming Giants.
Raised Pet Leveling
Raised Pets gain EXP when they are active and you kill monsters. Eggs also gain EXP this way.
Raised Pet Types
Catched Giants
Catched Giants are obtained by using Giant Catchers on Giants. Once caught, they become pets that provide useful stats and can be leveled up.
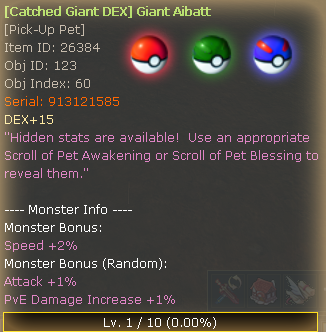
Giant Catcher 25%
Has a 25% chance to tame a Giant.
Giant Catcher 50%
Has a 50% chance to tame a Giant. Obtainable from the Crafting System.
Giant Catcher 100%
Has a 100% chance to tame a Giant. Obtainable from the Crafting System or Cash Shop.
Catched Giant Types
When a Giant is successfully caught, the Catched Giant can roll one of four main types:
- Catched Giant STR
- Catched Giant STA
- Catched Giant DEX
- Catched Giant INT
Catched Giant Stats
Catched Giants always gain Speed. They can also roll random bonus stats such as STR, STA, DEX, INT, HP%, Attack%, or PvE Damage.
Catched Giant Stat Growth
| Level | Speed | STR / STA / DEX / INT | HP% / Attack% / PvE Damage |
|---|---|---|---|
| 1 | +2 | +2 | +1% |
| 2 | +3 | +4 | +1% |
| 3 | +4 | +6 | +1% |
| 4 | +5 | +8 | +2% |
| 5 | +6 | +10 | +2% |
| 6 | +7 | +12 | +3% |
| 7 | +8 | +13 | +3% |
| 8 | +9 | +14 | +4% |
| 9 | +12 | +15 | +4% |
| 10 | +15 | +20 | +5% |
Catched Giant Leveling
Catched Giants gain EXP while activated and while you kill monsters. By default, each monster kill gives Catched Giant EXP.
- Keep the Catched Giant activated while farming.
- Kill monsters to increase its EXP.
- Use Catched Giant EXP Boost x2 or x3 to level it faster.
- When the Catched Giant levels up, its stat values increase automatically.
Tips
- Use higher chance Giant Catchers when trying to catch important Giants.
- Use the Crafting System to obtain stronger Giant Catchers.
- Use the 100% Giant Catcher when you do not want to risk failing.
- Keep your Raised Pet or Catched Giant active while farming.
- Keep leveling Catched Giants with useful random stats.
Guild Leveling & Guild Buffs Guide
Learn how guilds level up, unlock guild buffs, and upgrade buff levels.
Guilds level up as members farm monsters. Higher guild levels unlock stronger Guild Buffs for all guild members.
Guild Leveling
Guild EXP is gained when guild members kill monsters that are the same level or higher than the player.
Guild Buffs
Guild Buffs unlock at specific guild levels and can be upgraded up to Level 5.
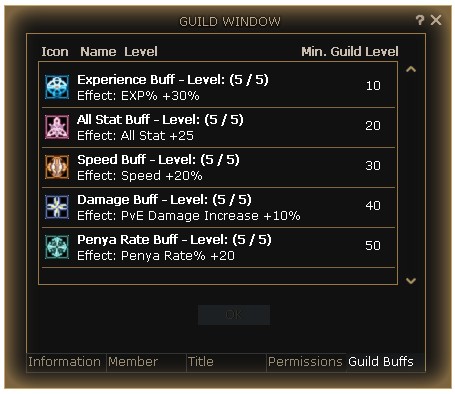
| Buff | Min. Guild Level | Level 1 → Level 5 | Required Token |
|---|---|---|---|
| Experience Buff | 10 | EXP +10% → +30% | Guild Experience Token |
| All Stat Buff | 20 | All Stat +5 → +25 | Guild All Stat Token |
| Speed Buff | 30 | Speed +5% → +20% | Guild Speed Token |
| Damage Buff | 40 | PvE Damage +2% → +10% | Guild Empowerment Token |
| Penya Rate Buff | 50 | Penya Rate +3% → +20% | Guild Empowerment Token |
Buff Upgrade Tokens
Guild Buff Tokens are crafted from the Crafting System under the Guild Buff Tokens category.
Required Materials
How to Upgrade Guild Buffs
- Open the Guild Window.
- Go to the Guild Buffs tab.
- Select the buff you want to upgrade.
- Make sure the guild has the required level and token.
- Upgrade the buff level.
Tips
- Level your guild by farming monsters that are not lower level than you.
- Upgrade Experience Buff early to help guild members level faster.
- Save Guild Empowerment Tokens for Damage Buff and Penya Rate Buff upgrades.
- Use the Crafting System to create the tokens needed for buff upgrades.
Wardrobe System Guide
Learn how to save costume presets and quickly switch your appearance.
The Wardrobe System allows players to save custom appearance presets and quickly switch between them without manually changing each item one by one.
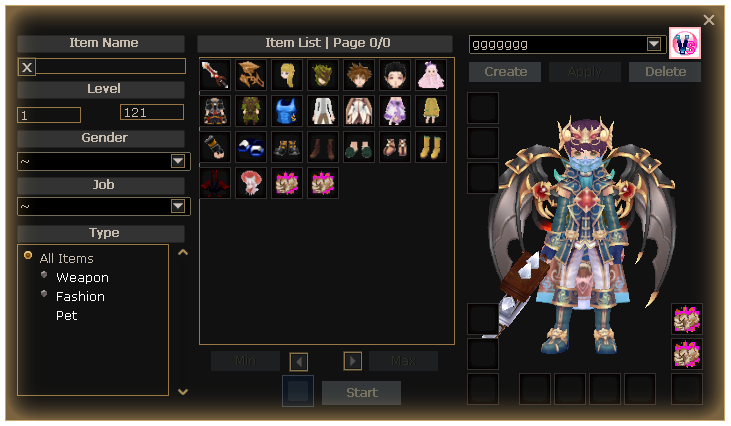
What Can Be Saved?
Wardrobe presets can include fashion pieces, cloaks, wings, pets, and weapon appearances.
Fashion Pieces
Save helmet, suit, gloves, boots, cloak, wings, and other costume parts.
Weapon Appearance
Save weapon visuals as part of your preset.
Weapon Auras
Weapon Auras can be added to presets for fast aura switching.
Pets
Pet appearances can also be included in Wardrobe presets.
Presets
Players can create and save Wardrobe presets. After saving a preset, it can be placed on the taskbar for quick switching.
How to Use
- Open the Wardrobe System.
- Select or search the appearance items you want to use.
- Add the items into the Wardrobe slots.
- Create or save the preset.
- Place the saved preset on your taskbar for fast switching.
Tips
- Create separate presets for PvE, PvP, fashion, or aura styles.
- Use presets to switch weapon auras faster.
- Keep your favorite costume combinations saved instead of rebuilding them manually.
Offline Vendors Guide
Learn how to create an Offline Vendor and edit your shop without closing it.
Offline Vendors allow players to sell items in Saint City even while they are away. Players can set up a shop, list items for sale, and keep their vendor active.
How to Obtain Offline Vendors
Offline Vendor items can be obtained from Level Up Rewards and mainly from the [Special] Is NPC.
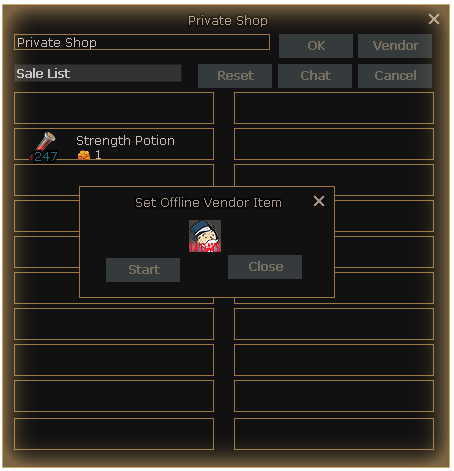
How to Create an Offline Vendor
- Teleport to Saint City.
- Double-click your Offline Vendor item.
- Place the item you want to sell into the vendor window.
- Set the item price.
- Press the Vendor button.
- Drag and drop the Offline Vendor item into the required box.
- Confirm to create your vendor.
Editing Your Vendor
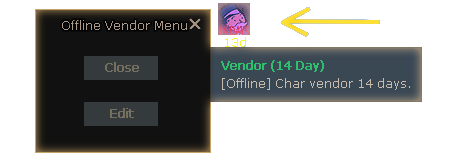
You do not need to close your vendor to edit your shop items.
- Click your Vendor Icon.
- Select Edit.
- Change your shop items or prices.
- Save the changes.
Tips
- Set up your vendor in Saint City where players usually trade.
- Double-check item prices before confirming.
- Use the Edit option when you only need to update items or prices.
- You do not need to recreate the whole vendor just to change your shop.
Record Book, Crown & MVP Statues Guide
Learn how the Record Book works and how Crown and MVP Statue buffs are used.
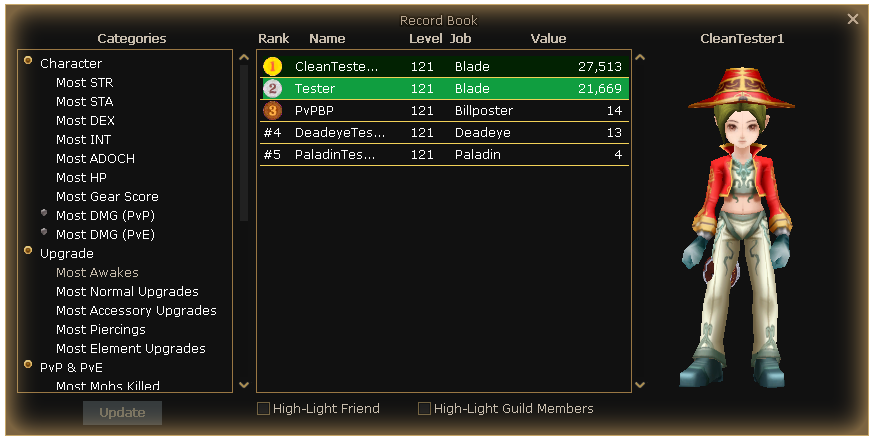
The Record Book allows players to compete for server records and compare rankings across different categories.
Record Book
The Record Book updates every 15 minutes. Players can challenge each other to hold the best records.
Crown & MVP Statues
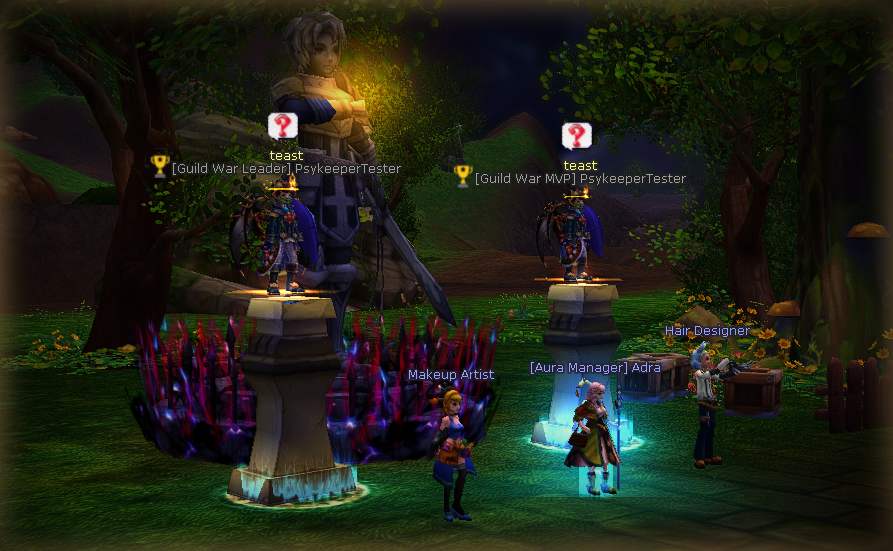
Special statues can appear in Flaris City for Guild War / Siege winners and MVP players. Other players can purchase useful buffs from these statues.
Statue Buffs
| Statue | Buff Effect | Buff Cost | Owner Receives |
|---|---|---|---|
| Crown Statue | Attack +5%, PvE Damage +5% | 5,000,000 Penya | 1,250,000 Penya |
| MVP Statue | All Stat +15, EXP +30% | 5,000,000 Penya | 1,250,000 Penya |
Tips
- Check the Record Book often to see who is leading each category.
- Compete for records if you want your character displayed through special statues.
- Use Crown and MVP Statue buffs before farming, leveling, or PvE content.
- Winning guilds and MVP players can earn Penya when other players buy buffs from their statues.
World Bosses Guide
Learn how World Boss participation, top rewards, chests, and chance-box rewards work.
World Bosses are server-wide bosses that spawn on a fixed schedule. Players who participate and deal enough damage can receive guaranteed participation rewards, while top contributors can earn extra reward materials.
World Boss Types
Week Days
Mutant Bunny and Raganda reward the Week-Days World Boss Chest.
Week End
Celestian Angel rewards the Week-end World Boss Chest.
How Rewards Work
- Join the World Boss event when it spawns.
- Attack the boss and deal at least 1,000,000 damage.
- Eligible participants receive the involved reward chest.
- Top contributors can also receive extra top reward materials.
- Open the Chance-Box inside the chest for one random reward.
Top Reward Materials
Top contributors can receive additional World Boss materials. These are separate from the guaranteed participation chest.
Guaranteed Participation Rewards
The involved reward chest is guaranteed for every player who reaches the minimum damage requirement. The same reward items are shown once below, with separate Week Days and Week End amounts.
| Period | Bosses | Guaranteed Chest | Guaranteed Contents |
|---|---|---|---|
| Week Days | Mutant Bunny, Raganda | Week-Days World Boss Chest | Rarity Dust x10, Week-Days World Boss Chance-Box x1, Super Scroll of Awakening x10 |
| Week End | Celestian Angel | Week-end World Boss Chest | Rarity Dust x20, Week-end World Boss Chance-Box x1, Super Scroll of Awakening x20 |
Chance-Box Reward Rates
Each World Boss Chance-Box gives one random reward. Items are listed once, with separate rates for Week Days and Week End boxes.
Common Rewards
Cards & Monster Album Rewards
Statted Fashion / Crafting Rewards
Tips
- Join early so you have enough time to reach the minimum damage requirement.
- Use your strongest PvE setup before the boss spawns.
- Week End bosses give the stronger guaranteed participation chest.
- Save rare drops such as Red Heart and Vengeful Dragon materials for important crafts.
- Click each reward card to view its description.
Secret Room Guide
Learn how Secret Room works, how guilds enter, and how Blue Chips are obtained.
Secret Room is a challenging guild-based PvE event where guilds compete by clearing waves of monsters, defeating bosses, and earning Blue Chips.
Event Schedule
How to Register
Secret Room registration is handled through the [Mayor of Flarine] NPC. Guilds must place a Penya bid to participate.
| Requirement | Value |
|---|---|
| Minimum Guild Level | Level 20 |
| Minimum Player Level | Level 121 |
| Minimum Bid | 30,000,000 Penya |
| Participants Per Guild | 1 to 10 players |
| Maximum Guilds | 16 guilds |
Event Objective
Inside Secret Room, each guild must clear monster waves and progress through the dungeon. The event includes normal monsters, a mid boss, and a final boss.
1. Clear Monsters
Defeat the Secret Room monster waves as quickly as possible.
2. Defeat Mid Boss
After clearing the normal monsters, your guild progresses to the mid boss.
3. Defeat Lucifer
The final objective is to defeat Lucifer and complete the Secret Room run.
Winning & Completion Rewards
The first guild to defeat the final boss becomes the official Secret Room winner. However, Blue Chip completion rewards are not limited only to the first guild.
Blue Chips
Blue Chips are the main reward currency from Secret Room.
- Blue Chips have a chance to drop from Secret Room monsters and bosses.
- Players can receive Blue Chips when their guild completes Secret Room.
- Faster clears can reward more Blue Chips.
- Completion rewards can range from 10 to 100 Blue Chips.
- Blue Chips can be sold directly to an NPC for 7,500,000 Penya each.
Tips
- Prepare your strongest guild members before Secret Room opens.
- Make sure your guild has enough Penya to compete for a top 16 bid.
- Bring enough damage, survivability, and support to clear waves quickly.
- Clear faster to earn better completion rewards.
- Stay inside Secret Room until rewards are given.
PvP Equipment Swap Guide
Learn the main PvP gear rules, HP weapons, PvP Remantis, and equipment swap presets.
This guide explains the main PvP equipment rules, how PvP HP Weapons work, and how players can prepare equipment swap presets for PvP worlds.
PvP HP Weapons
PvP HP Weapons can be obtained from the [Equipment] Coby NPC inside the PvP category.
Affordable PvP Gear
PvP HP Weapons are cheap and easy to obtain from [Equipment] Coby.
Awakening Only
PvP HP Weapons cannot be upgraded. They can only be awakened.
PvP Use Only
These weapons are intended for PvP worlds and should not be used for PvE content.
PvP Remantis
Players can also find PvP Remantis from the [Equipment] Coby NPC inside the PvP category.
Restricted PvP Items
Some items are restricted from PvP worlds to keep PvP balance fair.
Equipment Swap in PvP Worlds
PvP worlds have limited equipment swapping rules. Only specific item types can be swapped while inside PvP worlds.
| Item Type | Can Be Swapped in PvP Worlds? |
|---|---|
| Weapons | Yes |
| Raised Pets | Yes |
| Looter Pets | Yes |
| Other Equipment | No |
Switch Equipment Presets
Players can create equipment swap presets from the Switch Equipment system.
- Open the Start Menu.
- Go to Player Tools.
- Open Switch Equipment.
- Create your PvP swap preset.
- Use your preset to quickly swap allowed PvP items.
PvP Tips
- Buy PvP HP Weapons and PvP Remantis from [Equipment] Coby.
- Awaken your PvP HP Weapons since they cannot be upgraded.
- Do not use PvP HP Weapons for PvE farming or dungeons.
- Prepare your weapon and pet swap presets before entering PvP worlds.
- Remember that Defender's Set cannot be used inside PvP worlds.